You can follow the written instructions below, if you’d prefer.
A year ago this month, I discussed a new feature Twitter had just rolled out called “Twitter Moments,” which packaged a collection of tweets around a specific theme, event or news story. The company has now rolled out the ability to create your own Twitter Moments for everyone.
Now that I’ve had a chance to play around with it, I’ll take you through the process of creating your own Moments. I’ll be using my agency’s account for demonstration purposes.
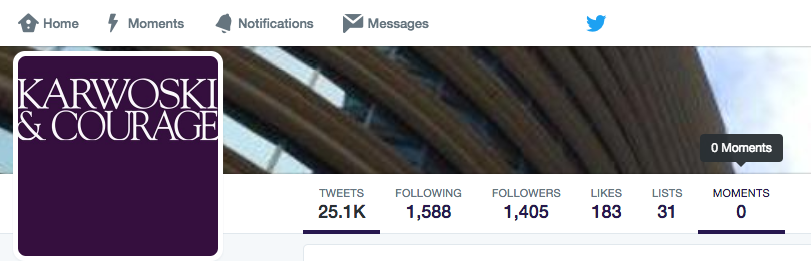
You’ll know you have the ability to create Moments because you’ll have a new Moments tab on your Twitter profile.
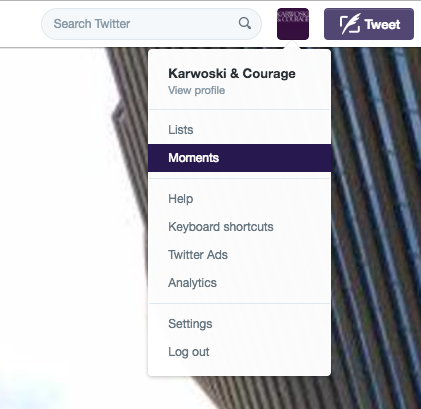
You’ll also notice that you have an option for Moments within the drop-down menu from your Twitter avatar on the upper right-hand corner of your account.
Note that you can only create Moments on the web version of Twitter, not the Twitter app. After you click on the Moments tab, you’ll see an option to Create A New Moment.
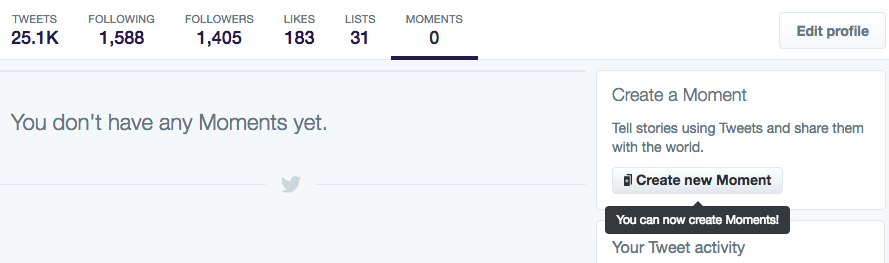
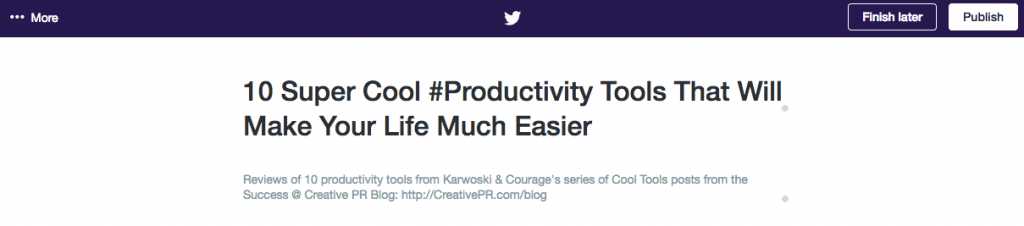
Click on the Create A New Moment button and you’ll arrive at the editing screen. Here you’ll want to add a title and a description.

I decided to create a Moment featuring a handful of productivity tools from our Cool Tools reviews. Give your title some thought because it will constitute the text of the status update when you share it on Twitter. It should also include keywords about the topic of the Moment to make it more findable within Twitter search.
Notice that I’ve used the words “productivity” and “tools” and made #Productivity a hashtag as well.
Next, Twitter gives you several options to find tweets to add to your Moment; it displays tweets you’ve liked by default, so if you plan on creating a lot of Moments, you might think about using Likes as a way to bookmark tweets you come across for later reference.

You can also find tweets that have been published by a specific account by searching for a name that account. By default, Twitter lists your own account’s tweets.

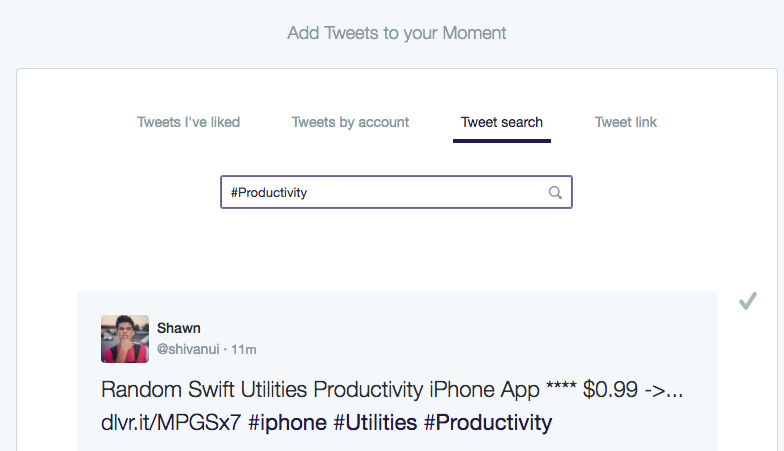
You can also search for tweets. Try searching by keywords or hashtags.
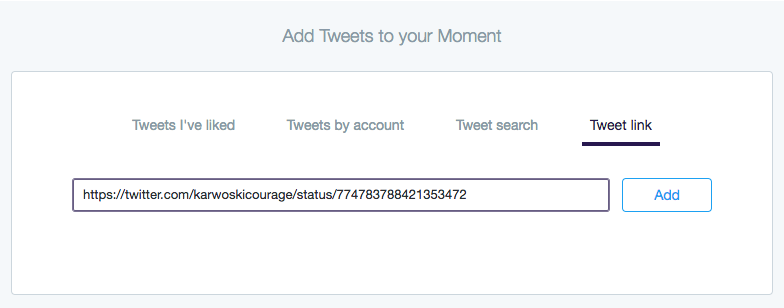
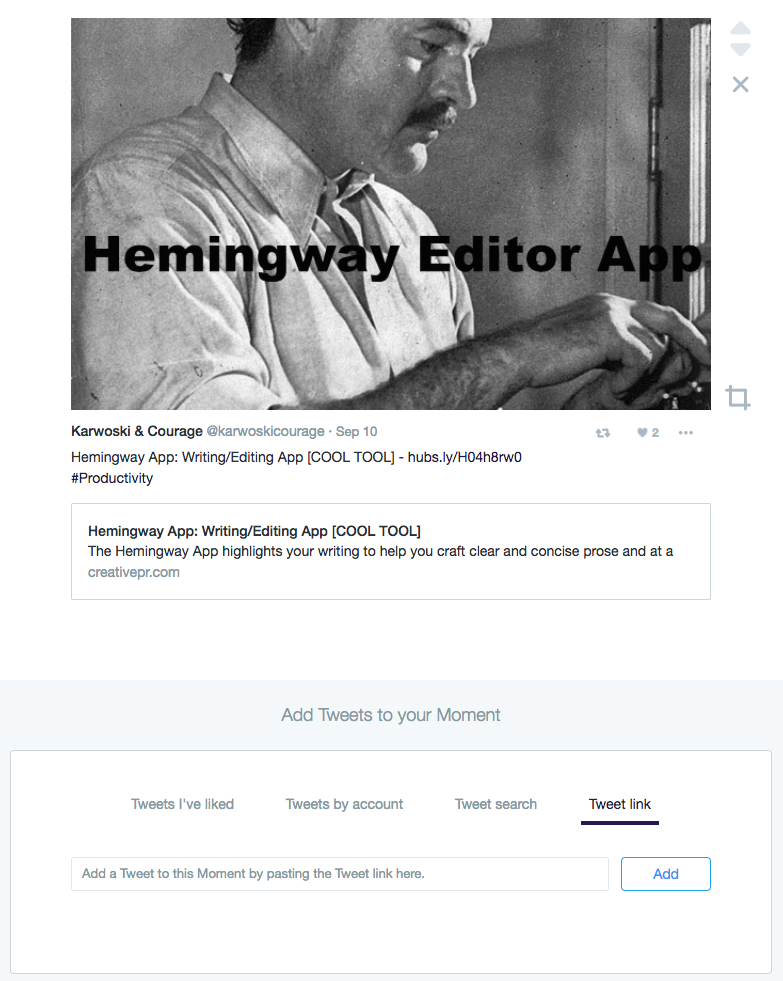
Finally, if you have the actual URL for individual tweets, you can paste them directly into your Moment.
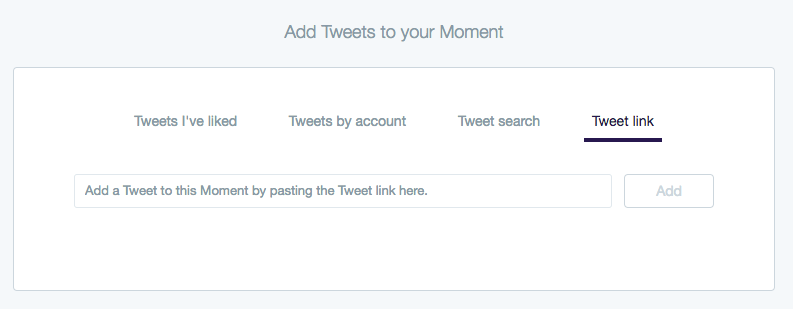
Like so:
Here’s what it looks like after you’ve added a tweet to your Moment on the editing screen. Note that each tweet has up and down arrows that allow you to place it within the stream of your Moment’s tweets. You can also delete tweets you no longer want in your Moment.
Keep in mind that the top tweet in your stream will be the first one visitors see sequentially.
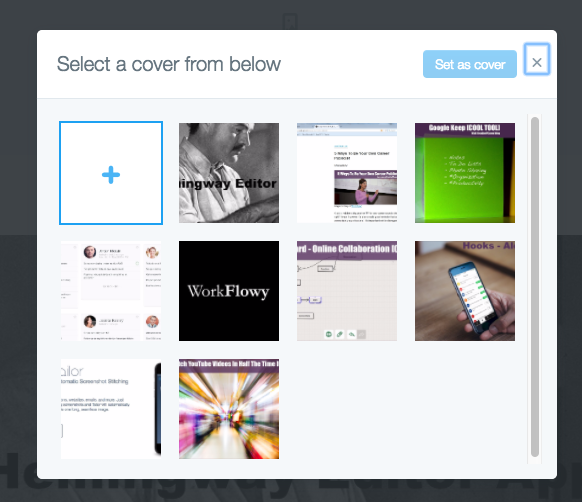
After you’ve added all the tweets you want to include in your Moment (Twitter recommends no more than 10), you should set your Moment’s cover image. They will be drawn from tweets you’ve included in your Moment.
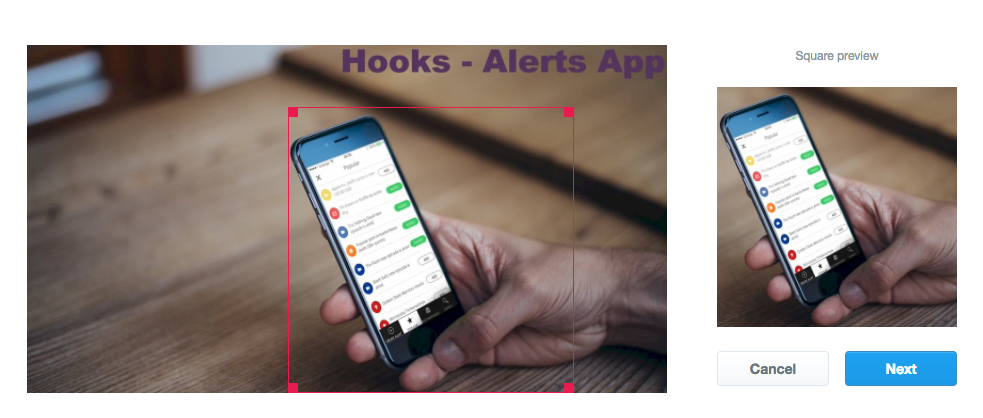
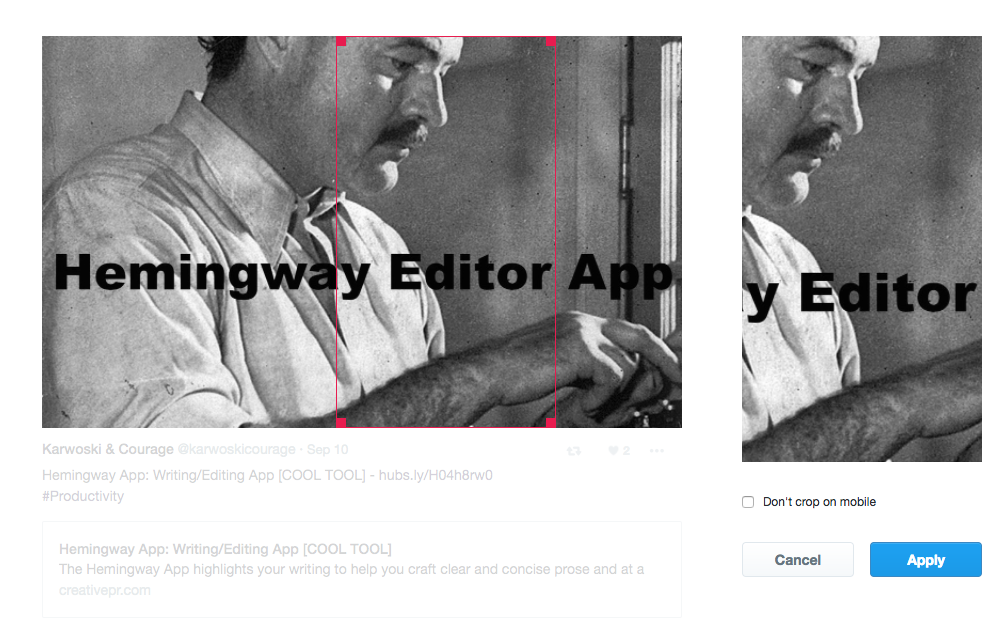
Twitter will ask you to crop your cover image to fit the web format.
And you will be asked to crop each tweet’s image/video to fit the vertical mobile format.
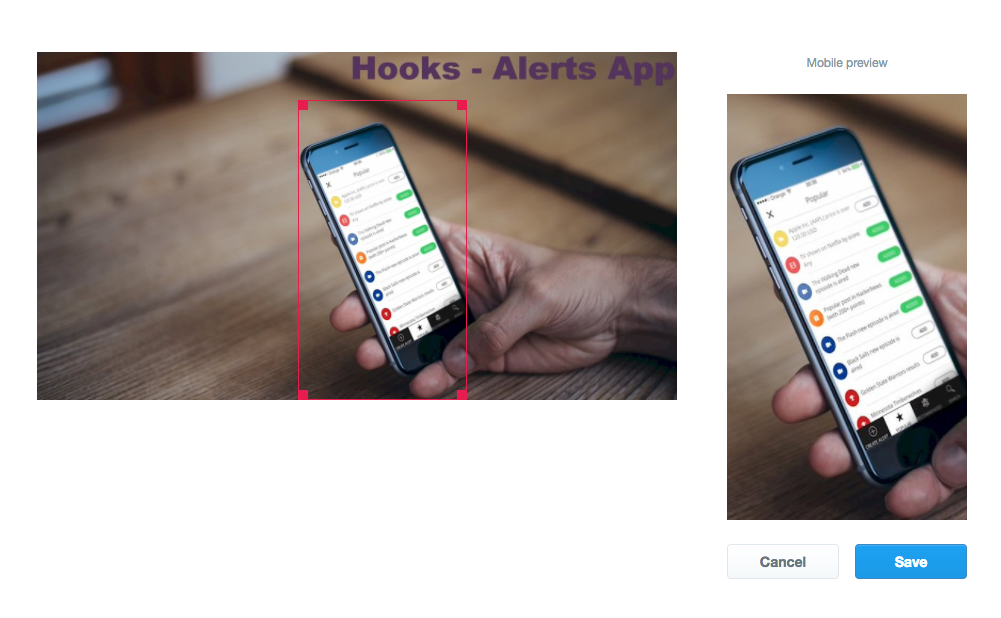
As you crop for mobile, you’ll need to balance capturing the most striking visual portion of the image with any explanatory or informational text that might be included in your image. Here, I can capture the image of Hemingway and the word “editor,” which works because Hemingway is such a widely recognizable figure.
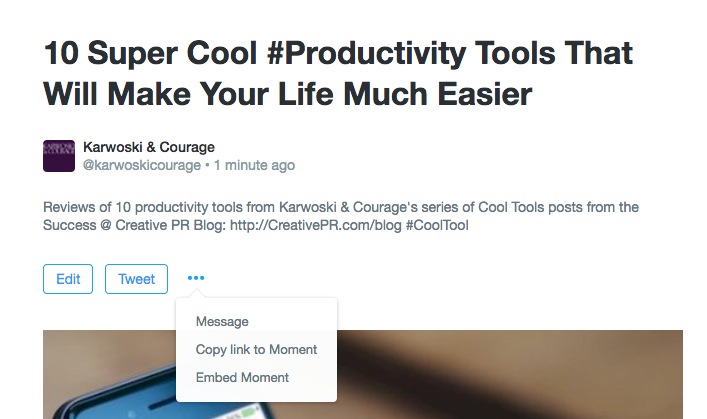
When you’ve got all the tweets you want to include in your Moment, you’ve written your title, description and you’ve cropped your images, click the Publish button to share it with the world.
After you’ve published, you can share it via a Direct Message, copy a link to it, or embed your Moment (see below).
Any Moments you’ve published will also be listed within your Moments tab.
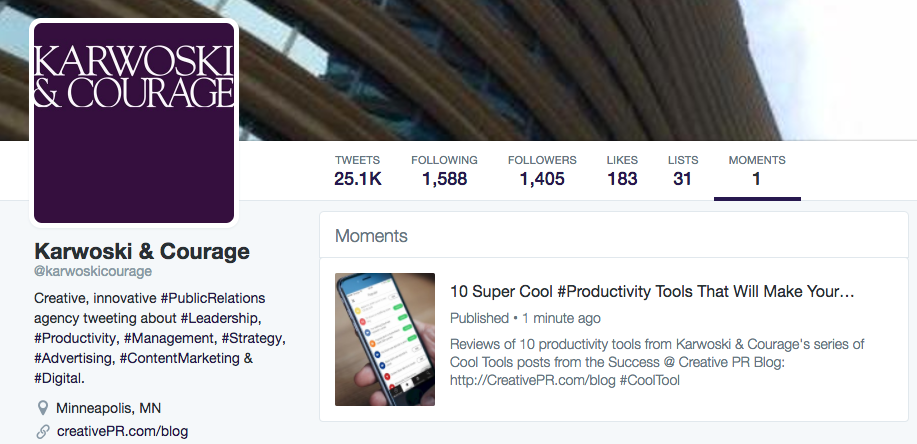
And it will show up in your profile’s feed, of course.

Here’s what the cover of my Moment looks like on a phone.
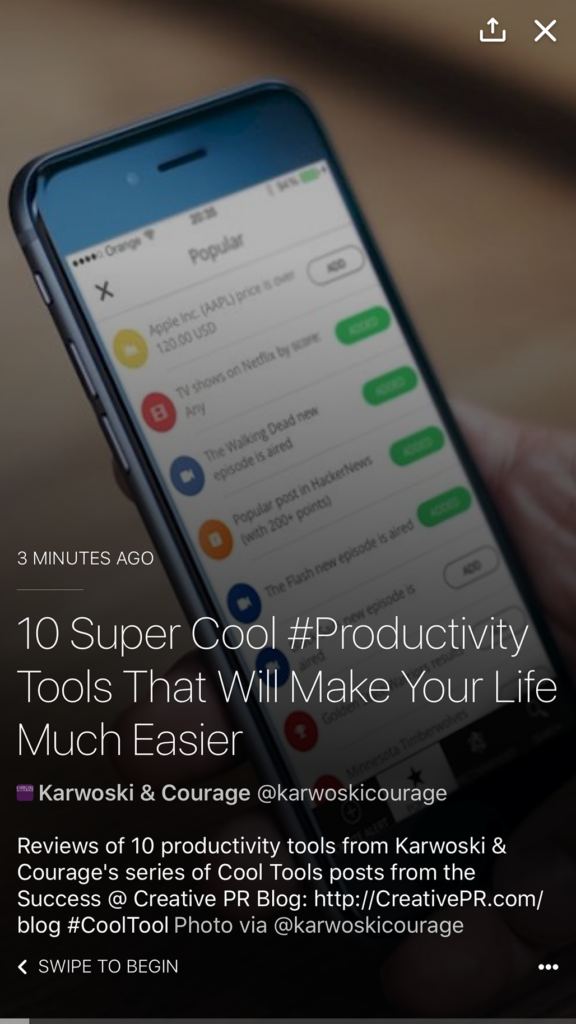
And here’s how an individual tweet looks.

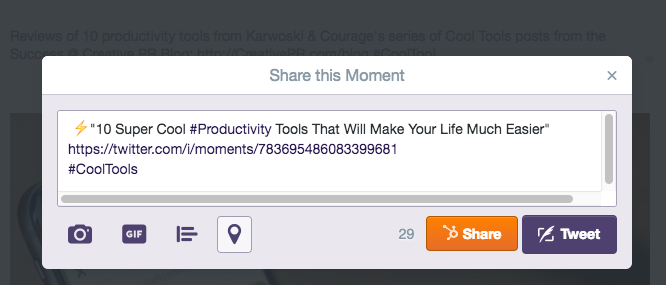
At the end of your Moment, people are invited to share it.

And, finally, here’s what my Moment looks like embedded:
The e-Strategy Academy covers all aspects of digital marketing including search optimization & marketing, email marketing, social media marketing, video marketing, mobile marketing & public relations.